CSS
FlexiMark allows you to freely customize the style of the preview screen.
Overview
The appearance during preview is determined by the following three types of CSS:
- Global CSS
- Workspace CSS
<style>tags within Markdown files
Workspace CSS overrides Global CSS, allowing you to change only specific styles if needed.
How to Change
Global CSS
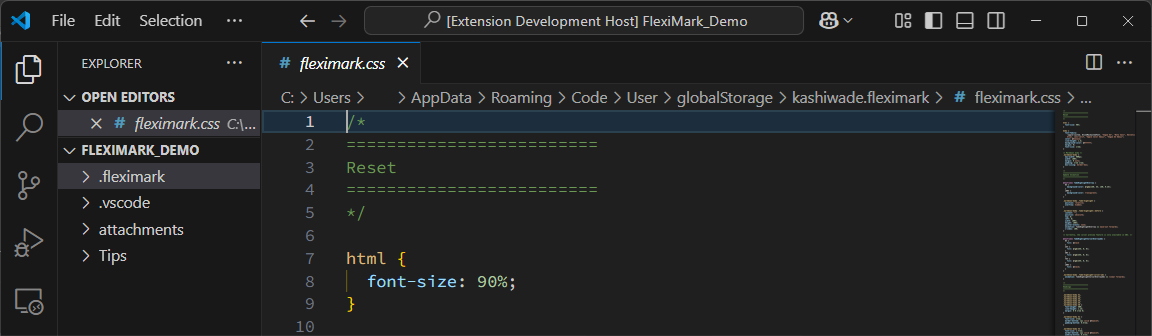
Press the F1 key and enter the following command. Then press Enter.
FlexiMark: Open Workspace CSS

This will open the Global CSS in preview mode. You can edit this file to modify the styles.
Workspace CSS
Press the F1 key and enter the following command. Then press Enter.
FlexiMark: Open Global CSS

This will create a file called .fleximark/fleximark.css in your workspace.
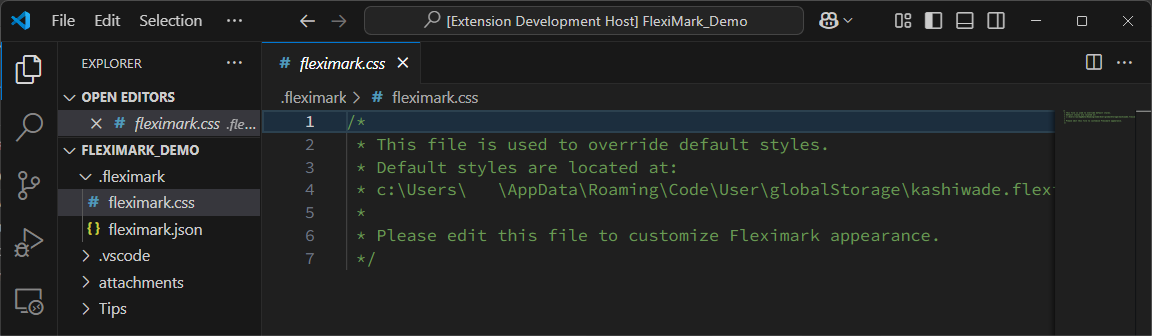
By editing this file, you can change the styles. For example, if you want to make the headings red, you can write:
/*
 * This file is used to override default styles.
 * Default styles are located at:
 * c:\Users\   \AppData\Roaming\Code\User\globalStorage\kashiwade.fleximark\fleximark.css
 *
 * Please edit this file to customize fleximark appearance.
 */

.markdown-body h1,
.markdown-body h2,
.markdown-body h3,
.markdown-body h4,
.markdown-body h5,
.markdown-body h6 {
  color: red;
}
After saving this setting, open any Markdown file and the headings will appear in red.

In FlexiMark’s preview, all HTML elements are wrapped inside a <div class="markdown-body">.
So it’s recommended to scope your CSS using .markdown-body.
To reflect CSS changes in the preview, you need to reload the preview screen.
Press the F1 key and enter the following command. Then press Enter.
FlexiMark: Force Reload Preview